
 admin
30+ Genius Pumpkin Carving Ideas (The Easy & No-Stress Guide)
30+ Genius Pumpkin Carving Ideas (The Easy & No-Stress Guide)
Pumpkin carving is supposed to be fun, not frustrating. You don’t need expensive clay loops or professional sculpting skills to make your porch look amazing. This year, embrace simplicity with designs that use common household items, require only basic cuts, or even skip the cutting altogether.
1. The 5-Minute “No Tools” Revolution
Sometimes the easiest way to “carve” is to change your tools. Forget the jagged safety saw; these ideas prioritize clean lines, speed, and safety.
A. The Power Drill Polka Dot Lantern
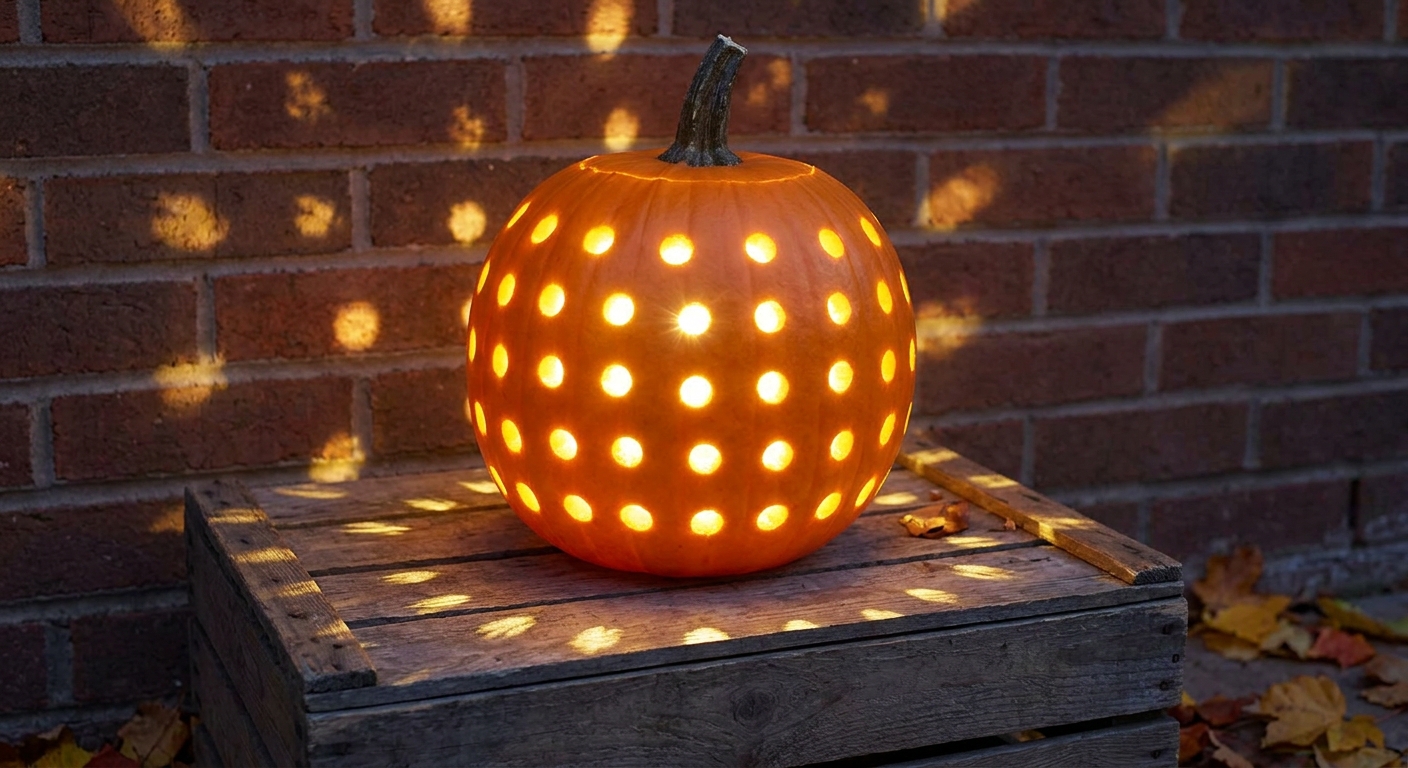
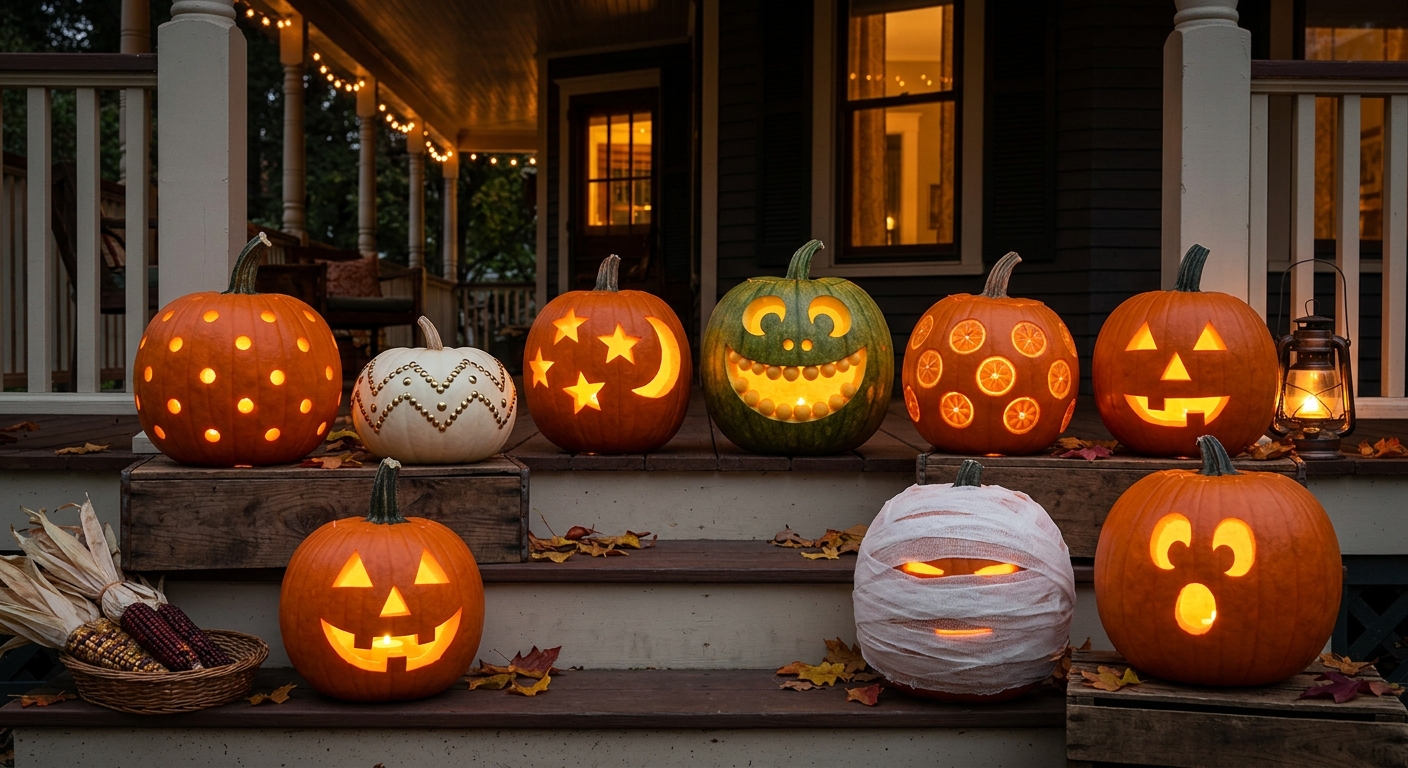
The drill is the ultimate carving shortcut. It creates perfect circles instantly, which is nearly impossible by hand.
-
How to Make It: Simply thin the walls of the pumpkin as usual, then grab your cordless drill and a standard drill bit. Drill random holes all over the pumpkin. When you put a light inside, the perfectly circular beams of light shoot out, creating a charming, twinkling lantern effect.
-
Skill Level: Zero.
-
Time: 5 minutes.
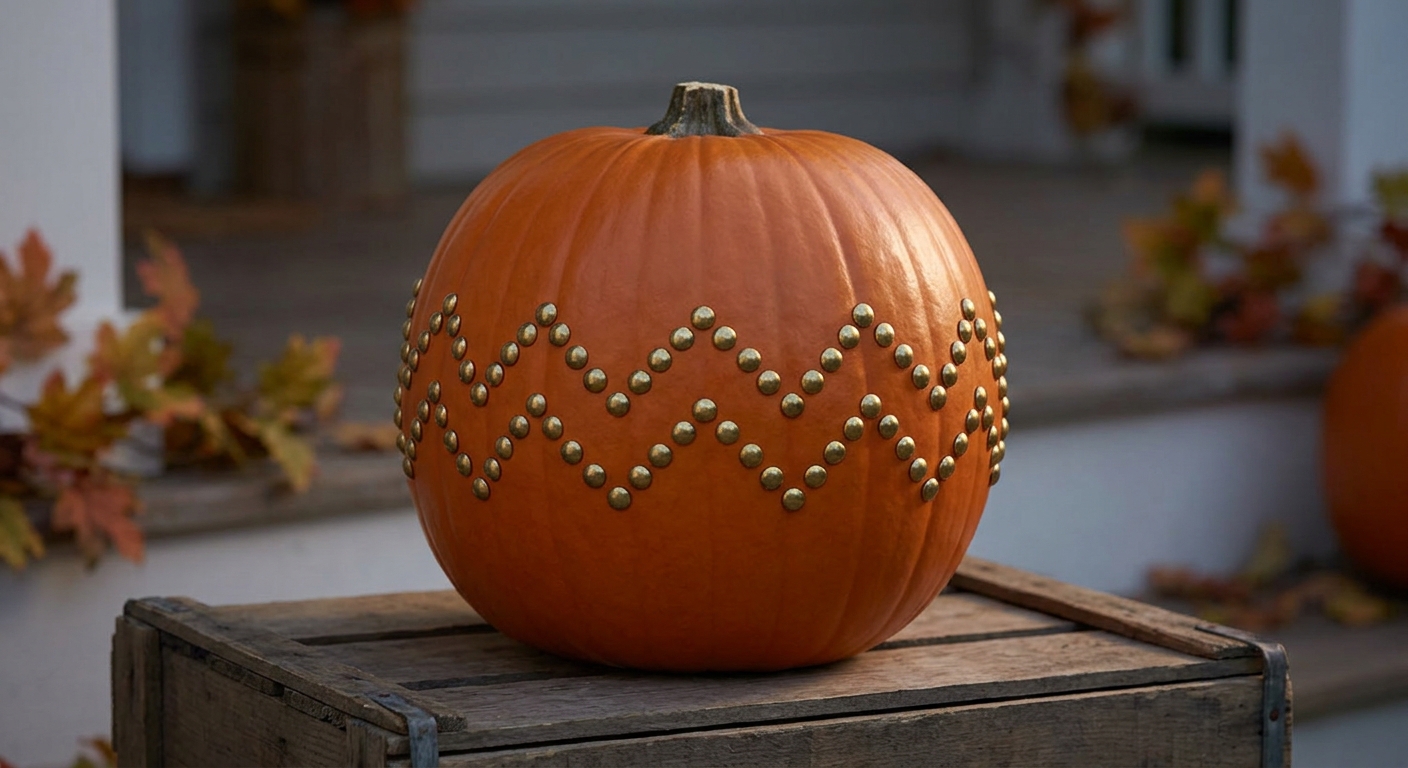
B. The Metallic Stud Gourd
If you are looking for a sophisticated, modern, or even “punk” look with absolutely zero mess, this idea is perfect. It works best on small to medium-sized pumpkins.
-
How to Make It: Buy a pack of upholstery tacks or decorative furniture studs (metallic brass, chrome, or even black plastic). Push them directly into the pumpkin rind. You can create geometric lines, chevron patterns, or simply stud the entire surface. No guts to scoop, no cuts to make!
-
Skill Level: None.
-
Time: 10 minutes.
2. Easy Designs Using Household Kitchen Items
You probably already own the best tools for easy pumpkin decorating. Look in your drawers instead of buying specialized kits.
C. The Cookie Cutter Shapes
This is the ultimate hack for perfect silhouettes without struggling with a tiny serrated knife. Stars, moons, and bats are easy wins.
-
How to Make It: Select thin metal cookie cutters (the plastic ones won’t work). Place the cutter against the rind where you want the shape. Gently but firmly tap the cookie cutter with a rubber mallet until it pushes through the rind. Save the cutout piece!
-
Skill Level: Extremely easy.
-
Time: 2 minutes per shape.

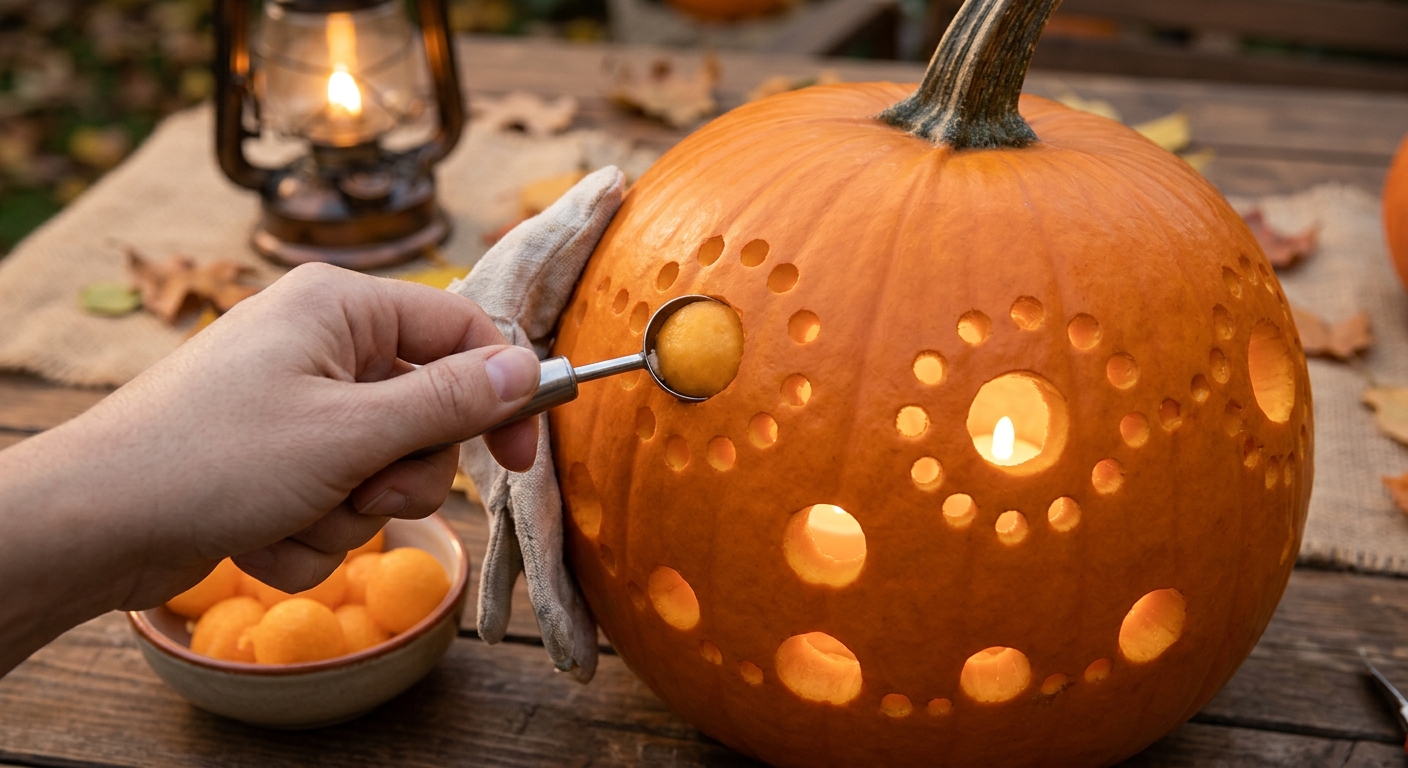
D. The Melon Baller Eye/Polka Dot Hack
A melon baller can add unique, small, shallow details or generate uniform dots that are hard to cut by hand.
-
How to Make It: After your main cuts (like eyes or a mouth), use a melon baller to scoop small, uniform holes. If you scoop all the way through, you get small lights. If you scoop only partway, you create a shaded, subtle glow. You can also use it to create “warts” on a monster face.
-
Skill Level: Easy.
-
Time: 5–10 minutes.
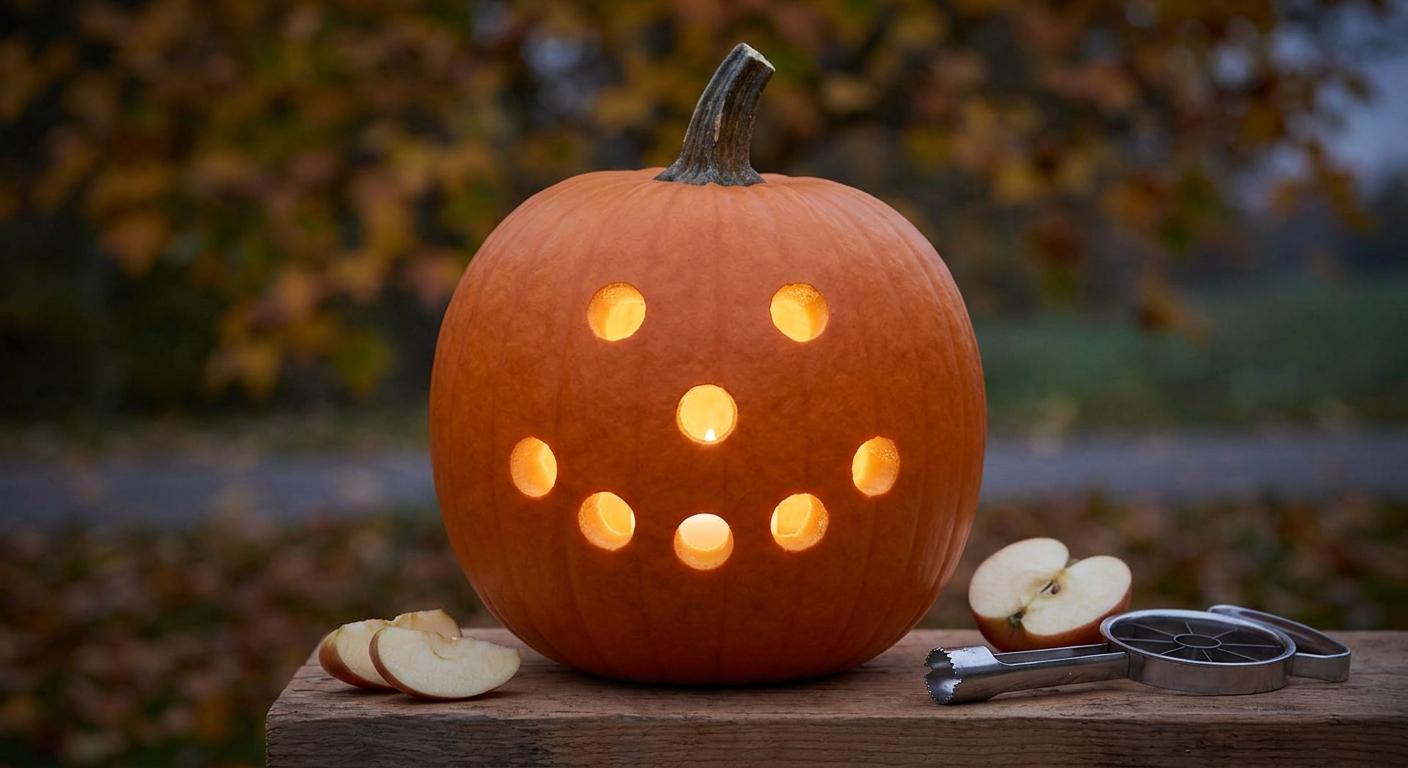
E. The Gourd Slicer (Apple Corer)
The humble apple corer can create precise, small vents or decorative details.
-
How to Make It: Align the apple corer and apply even pressure to punch all the way through the rind. This creates small, clean circles and small slits where the dividers are. Use it to add vents to a complex design or create uniform patterns.
-
Skill Level: Easy.
-
Time: 5 minutes.
3. Minimalist Cuts: Simple Lines, Maximum Glow
Minimalism is not just stylish; it’s easy. Focus on clean, straight lines or simple geometric shapes.
F. The Geometric Triangle Face
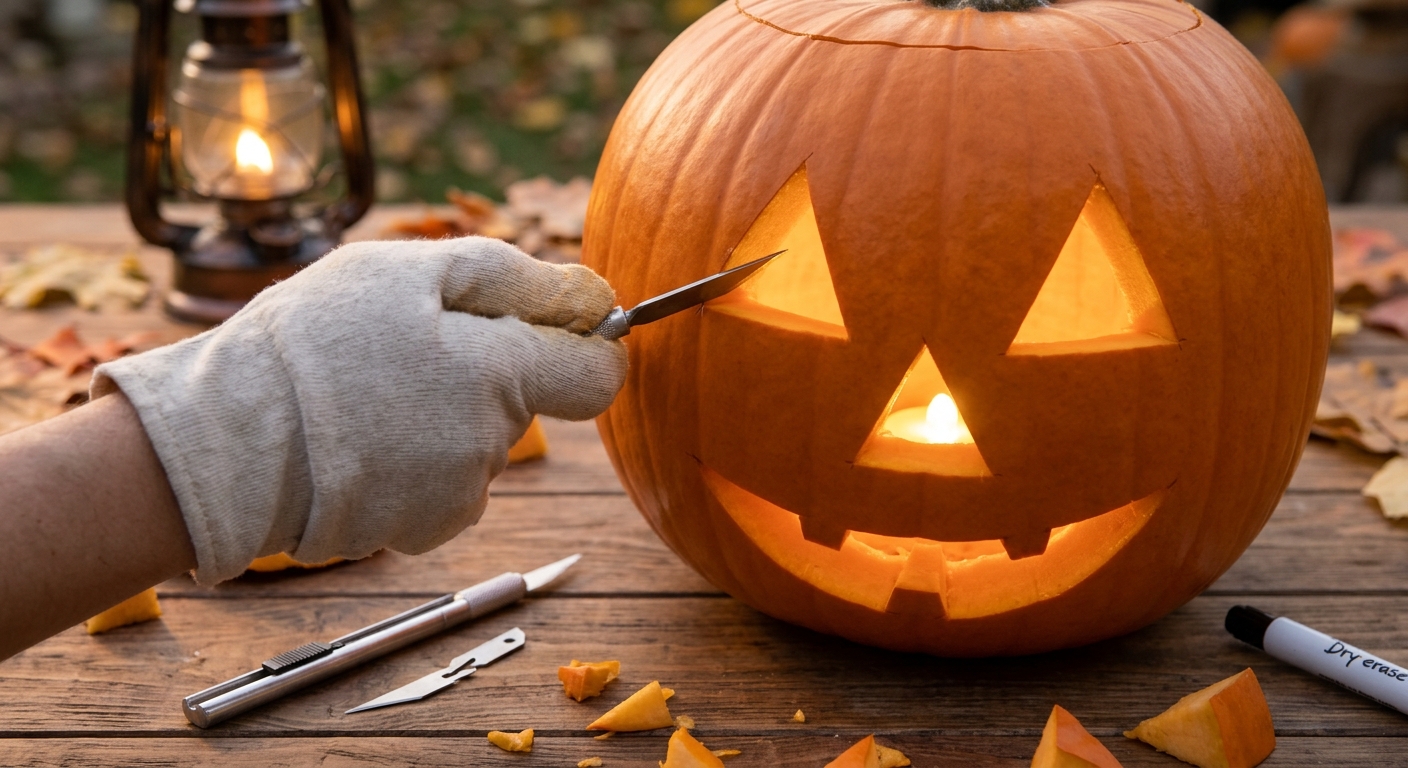
Traditional triangular eyes and a square mouth are classic for a reason—they are fast to cut and structurally strong.
-
How to Make It: Use a ruler to trace perfect geometric triangles. Make all cut lines intersect. This classic face looks surprisingly clean and “architectural” when carved perfectly symmetrically.
-
Skill Level: Easy.
-
Time: 10 minutes.
G. The “Mummy” Wrapped and Slit Gourd
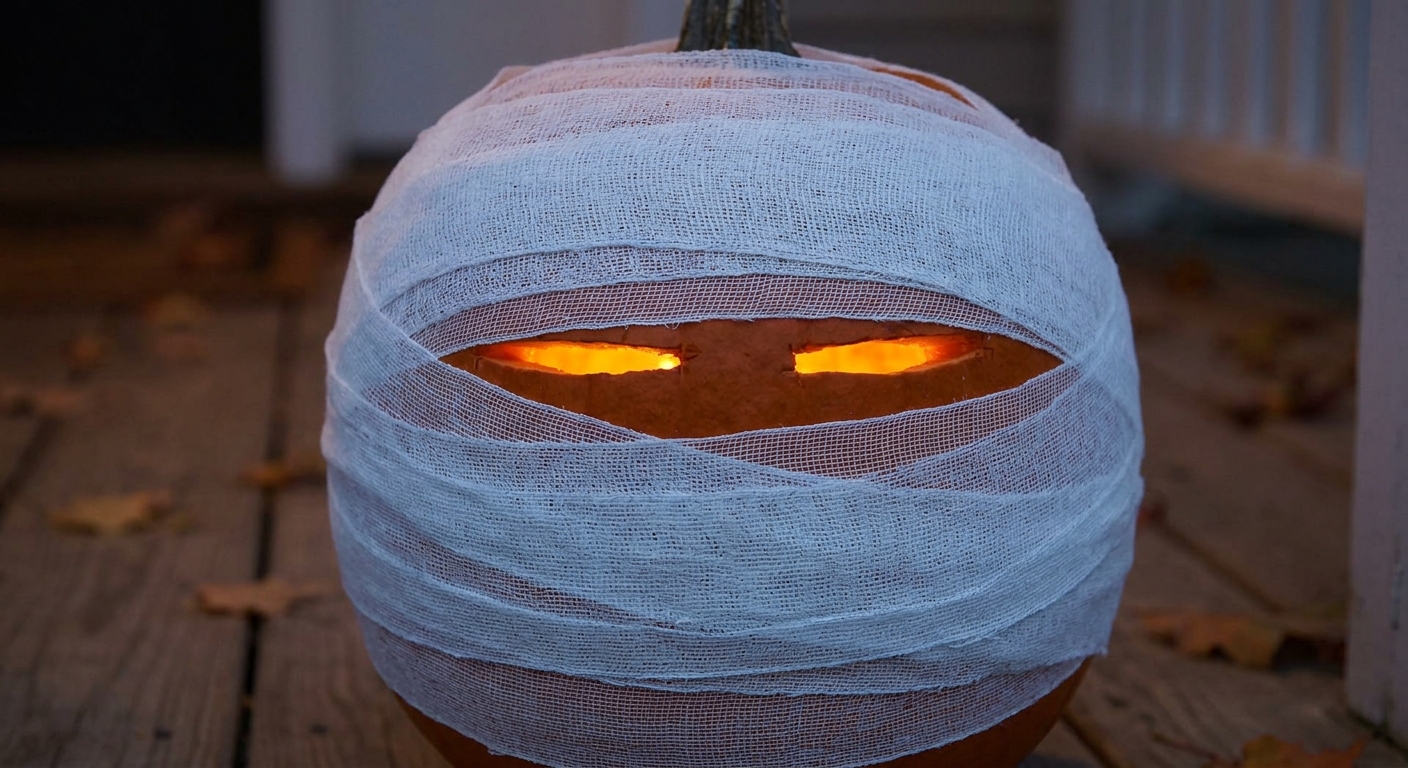
A mummy face needs only horizontal slits, making it one of the simplest cutting designs possible.
-
How to Make It: Wrap your pumpkin tightly with medical gauze or white crepe paper, using clear tape to secure it. Leave small areas uncovered. Within those gaps, use a standard craft knife (X-Acto or utility) to cut simple horizontal slits. No curves are required!
-
Skill Level: Very easy.
-
Time: 15 minutes.
4. Cute and Friendly (Non-Spooky) Designs
Not everything on Halloween needs to be frightening. These charming designs are perfect for little kids and cozy porches.
H. The Friendly Ghost
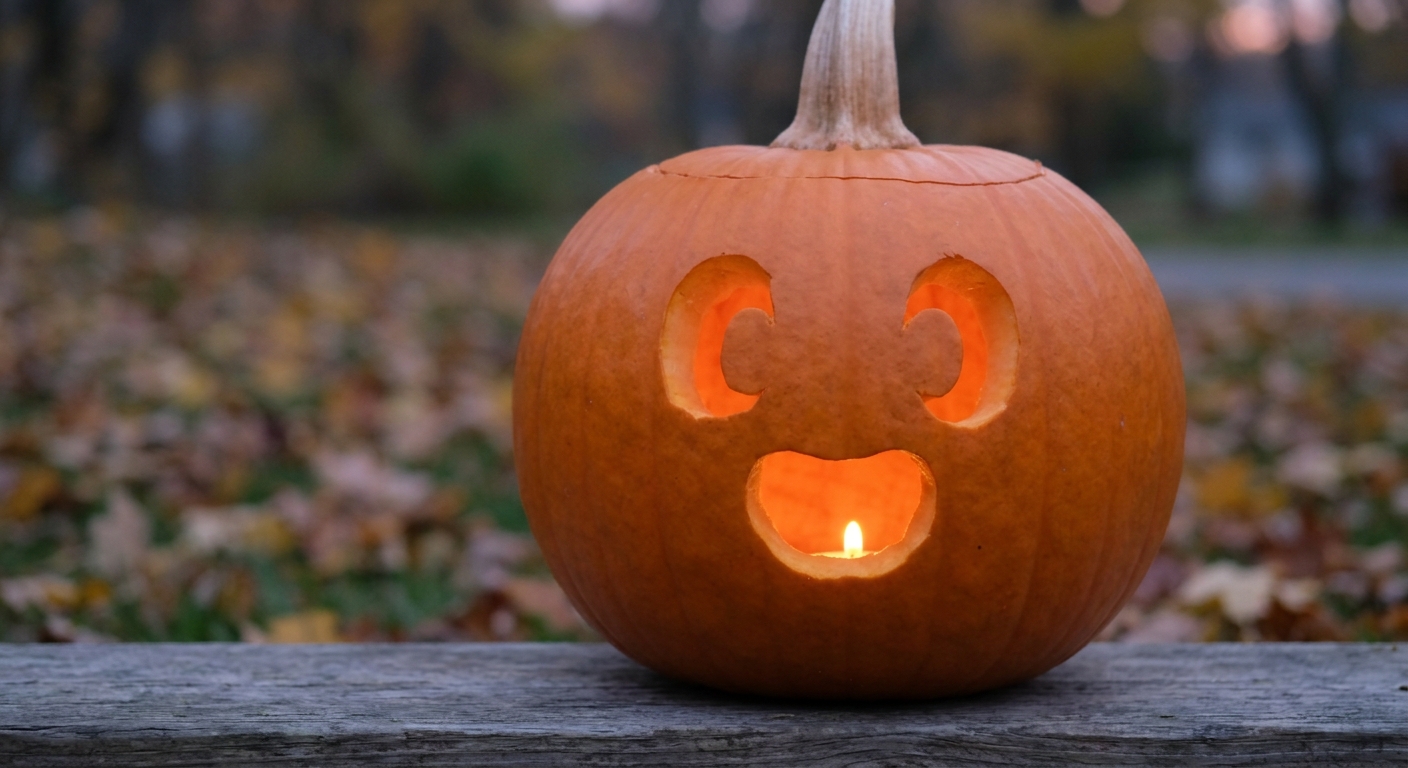
This design focuses on large, inviting, rounded shapes that are easy to cut.
-
How to Make It: Ditch the jagged teeth. Carve two large, oval-shaped eyes and one large, simple O-mouth. The rounded lines are forgiving if your cut is slightly wobbly.
-
Skill Level: Beginner.
-
Time: 15 minutes.
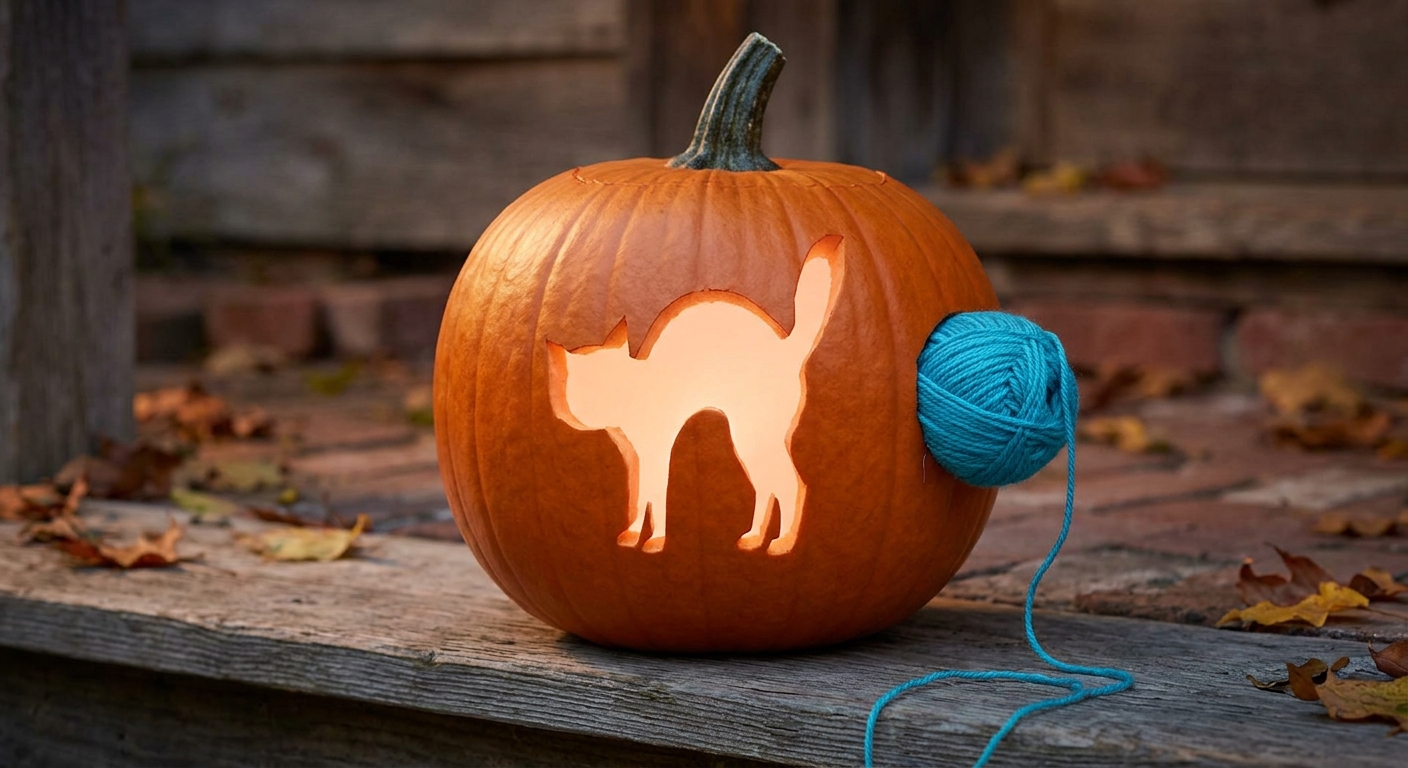
I. The Cat and Yarn Combo (Cut & Prop)
This idea uses one very simple silhouette cut combined with a prop.
-
How to Make It: Cut a single black cat silhouette (arched back, triangular ears) using a paper template. Then, simply cut a separate hole in the side of the pumpkin and push a bright ball of colored yarn halfway in. It looks like the cat is playing with the yarn.
-
Skill Level: Medium-Easy.
-
Time: 20 minutes.
5. Essential Simple Tips and How to Preserve Your Gourd
To keep your easy designs looking great for days, follow these critical steps:
| Simple Tip | Why It Matters |
| Cut the Bottom | Easier to place over an LED light; the top (stem) stays fresh. |
| Thin the Walls | Makes all cutting tools, even cheap ones, work better. Scrape the inside till it’s translucent. |
| Use a Dry-Erase Marker | Mistake lines disappear instantly; ink won’t ruin your rind. |
| Preserve with Oil | Rub vegetable oil or Vaseline onto any exposed cut edges to seal in moisture. |
6. Pop Culture & Themed Characters (Expanded)
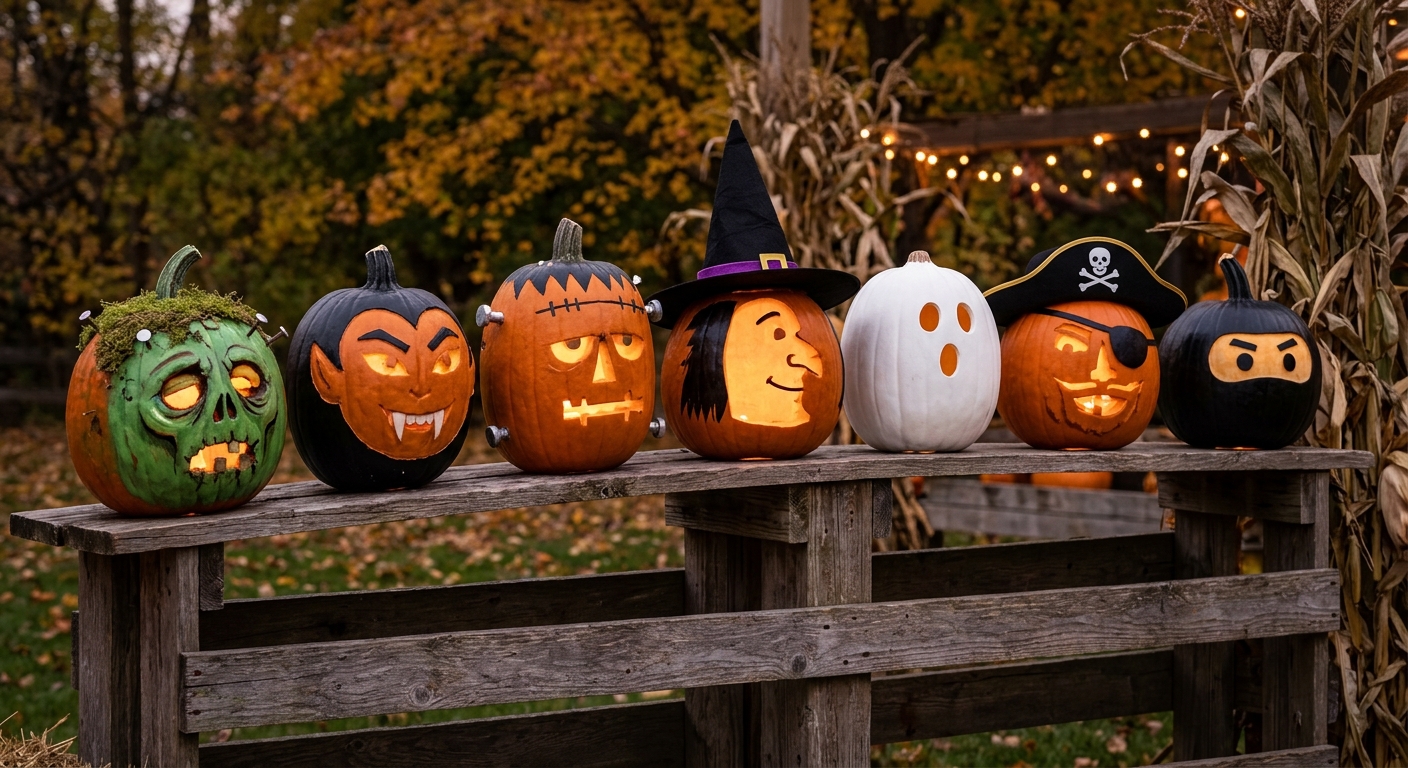
Ready to take your porch display to the next level? Moving beyond standard faces, these designs focus on recognizable character archetypes and popular culture figures. This section explores how to use simple shading techniques, key props, and strategic painting to bring iconic characters to life.
By strictly adhering to the clean, high-resolution photographic style established in previous sections, these examples demonstrate how specific character details—like a scar, a bolt, or a cape—make the design immediately recognizable.
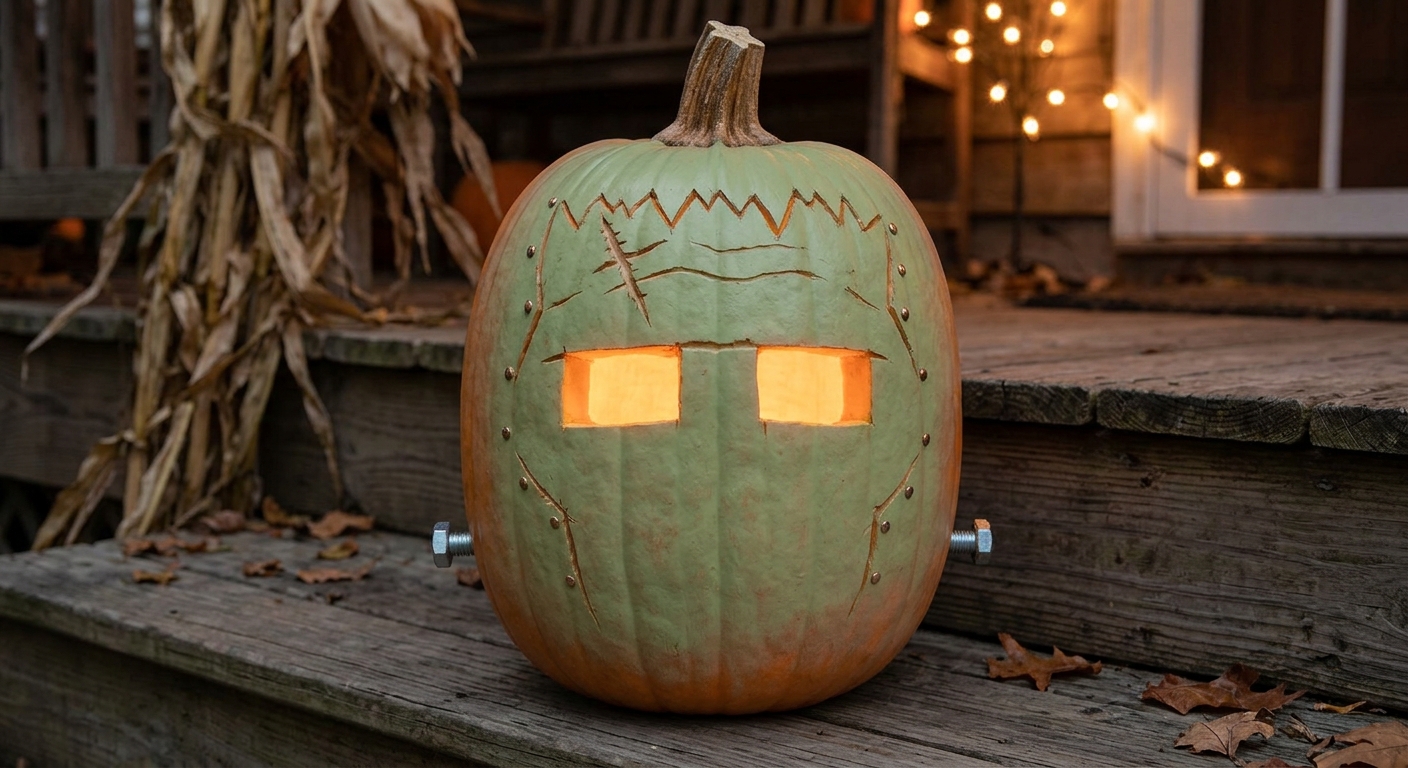
J. The Classic Frankenstein’s Monster
Bringing Shelley’s creation to life requires emphasizing specific, iconic anatomy: the flat head, scars, and neck bolts. This design uses a combination of simple cutting and superficial etching.
-
How to Make It: Start with a tall, rectangular pumpkin for the classic head shape. Paint the entire surface with a light layer of moss green acrylic paint, letting the orange warmth show through. Use shallow skin etching to create the forehead scars and the jagged brow line. The “bolts” are not carved; they are simple hardware tacks or small wooden dowels pushed into the sides of the neck.
-
Skill Level: Intermediate (requires some superficial etching).
-
Pro Tip: Stick a few real metallic upholstery tacks into the scars to add a textural, stitched look when illuminated.
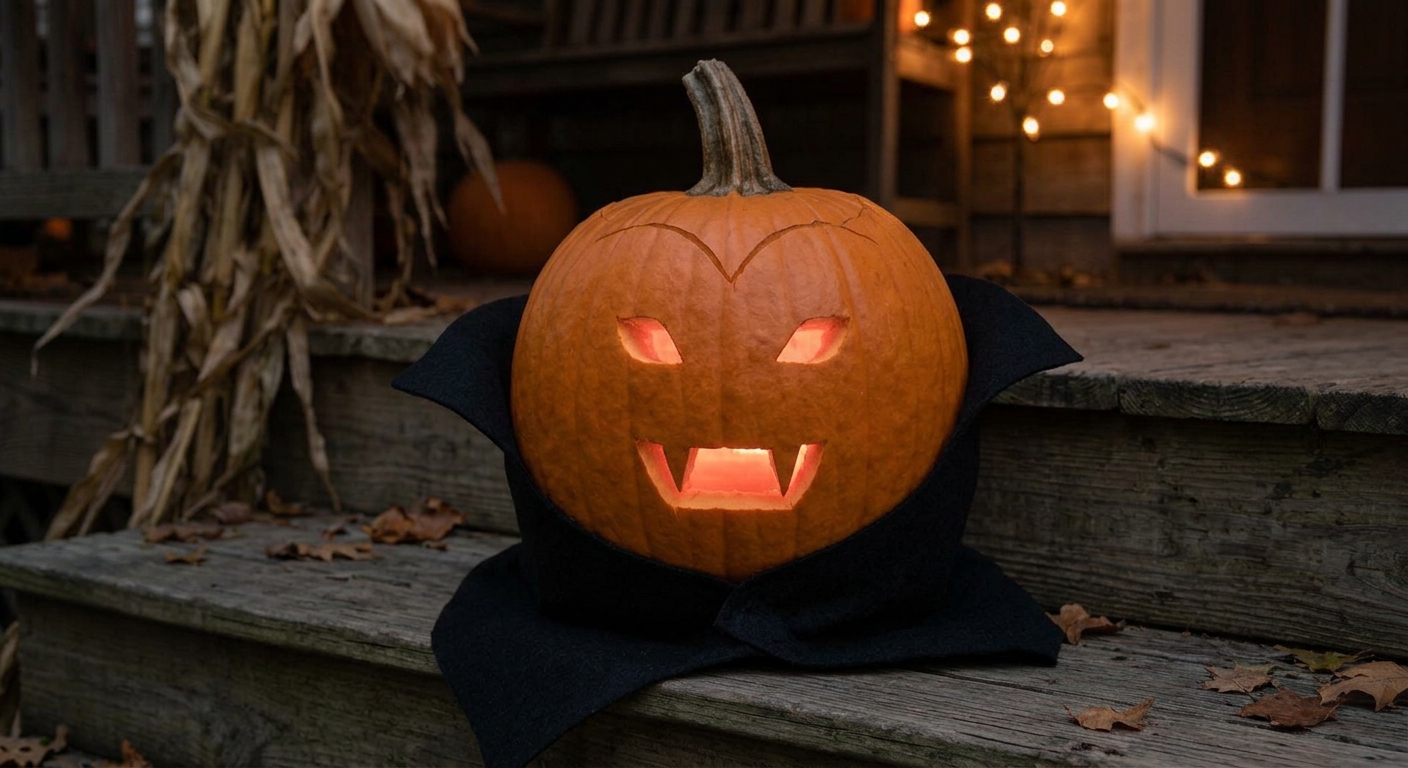
K. The Cape & Fang Vampire
This concept focuses on simple negative space (carving) to define the face, relying heavily on a single prop for character identification.
-
How to Make It: Thin the walls significantly so the light glows intensely. Carve a classic angry expression with sharp, triangular eyes and an open grin revealing prominent fangs. The character comes to life after carving: simply drape a small piece of stiff black fabric or felt around the base and secure it behind the stem to form the high collar of a cape.
-
Skill Level: Easy (Relies primarily on prop styling).
-
Pro Tip: Place a small, deep red LED puck light inside rather than white light to emphasize the blood-sucker theme.
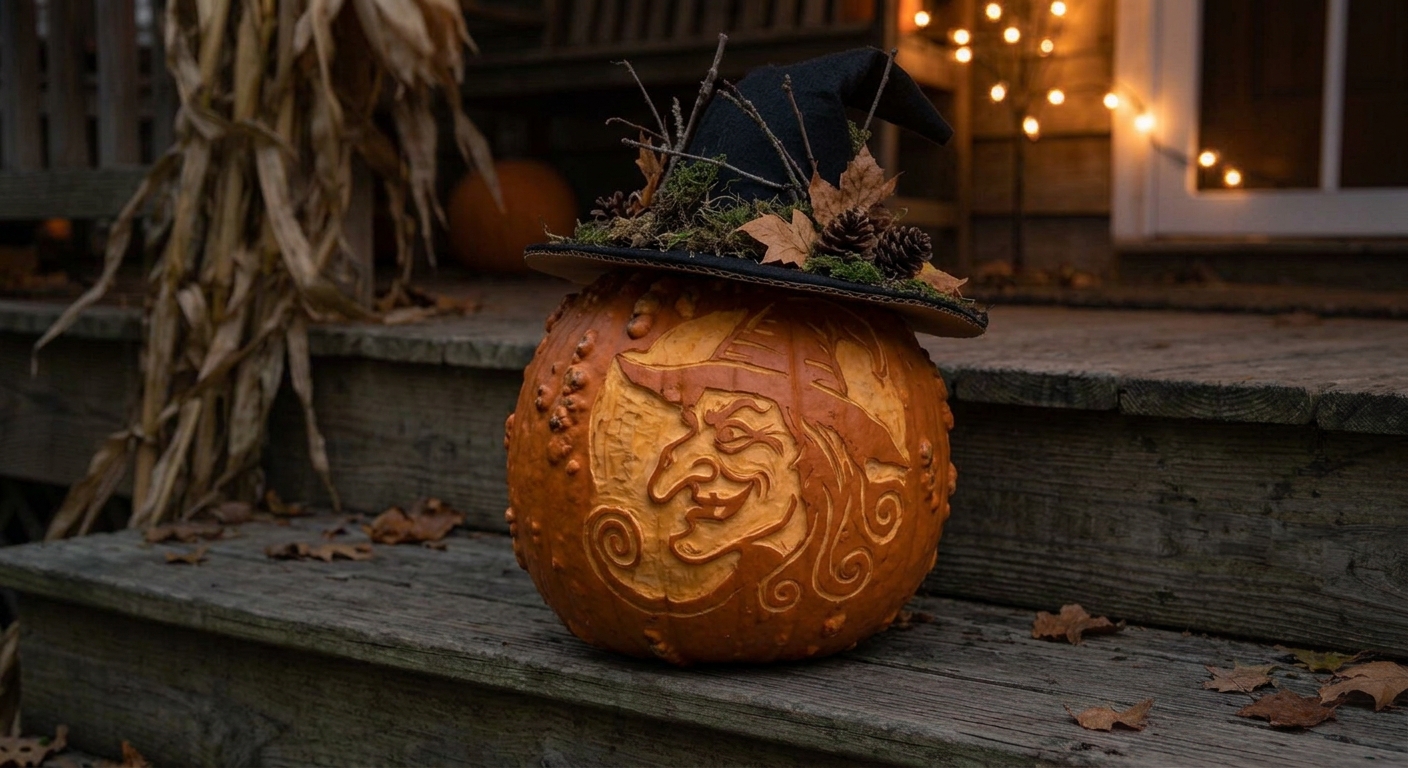
L. The Whimsical Forest Witch
This intermediate design merges classic Halloween folklore with the popular “fairy house” aesthetic seen earlier. It utilizes etching for facial features but relies on complex prop building for the iconic hat.
-
How to Make It: Choose a pumpkin with some texture (warts and bumps). Lightly etch the facial profile rather than cutting all the way through, using a linoleum cutter to achieve fine lines for the hooked nose and chin. The key to this look is the hat: build it from cardboard and stiff black felt, then decorate it with dried twigs, moss, and autumn leaves.
-
Skill Level: Intermediate.
-
Pro Tip: After dark, stick small twigs around the base of the pumpkin to simulate a broomstick or a forest floor.
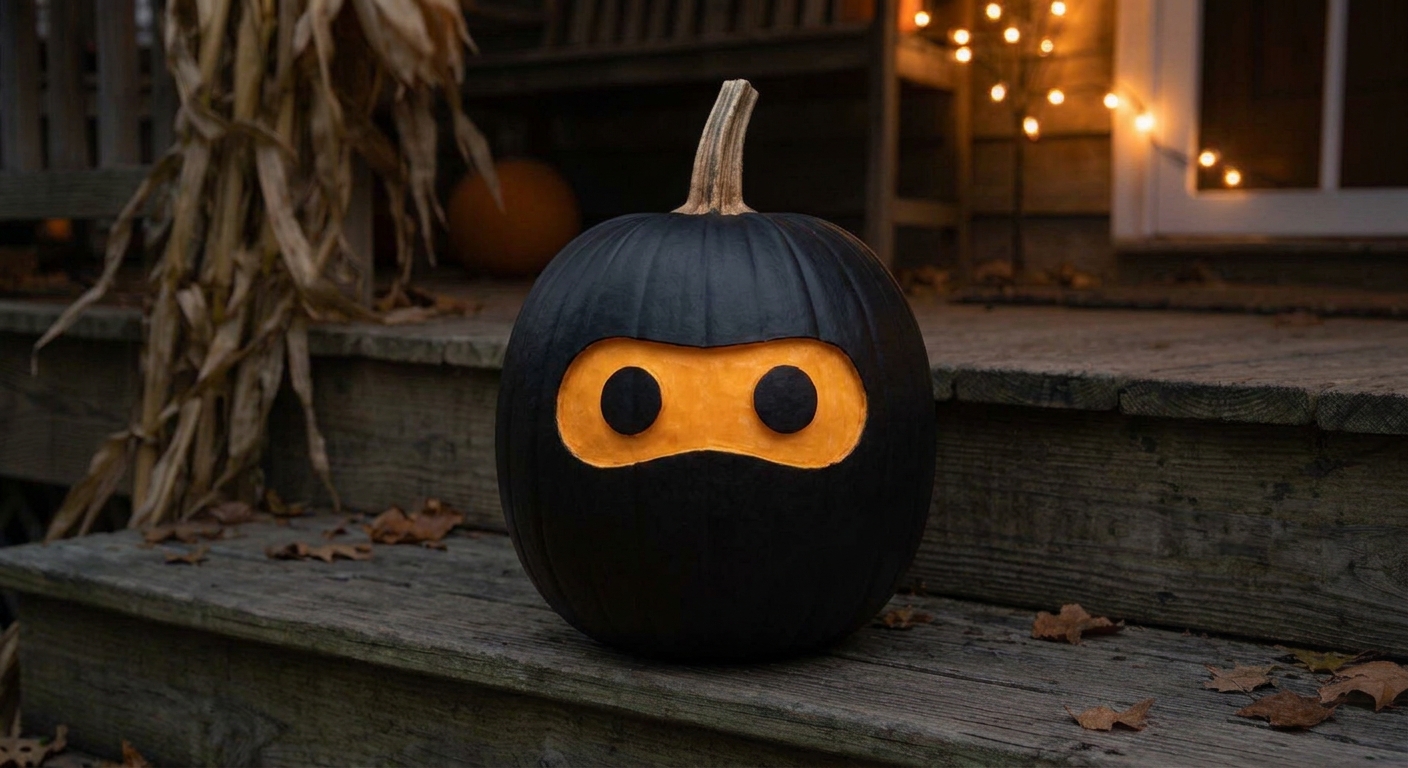
M. The Ninja Silhouette (Reverse Etch)
The ninja concept offers a sleek, modern, and very easy option. The design is simple, but the “reverse etching” technique creates a high-contrast visual that looks complex.
-
How to Make It: Instead of painting the inside, paint the exterior of a medium pumpkin in matte black. Once the paint is dry, use a large, shallow loop tool (or a standard craft knife) to scrape away only the black paint and the top layer of rind to reveal the bright orange flesh beneath. Create a wide headband and the narrow eye opening (like a balaclava) in this scraped orange pattern. When lit, only the orange areas glow, surrounded by a black void.
-
Skill Level: Easy (No deep cutting required).
-
Pro Tip: Use a sharp utility knife to define the boundary lines of the mask before you start scraping for perfectly clean edges
- MORE IDEAS:
- or you can take your pumpkin top the next level of creativity if you are talented and can crave as a profesional:

- a mix of simple art :
0 Comment