
 admin
admin The Best Marble Cake Recipe: A Soft, Swirled Classic You’ll Love Baking
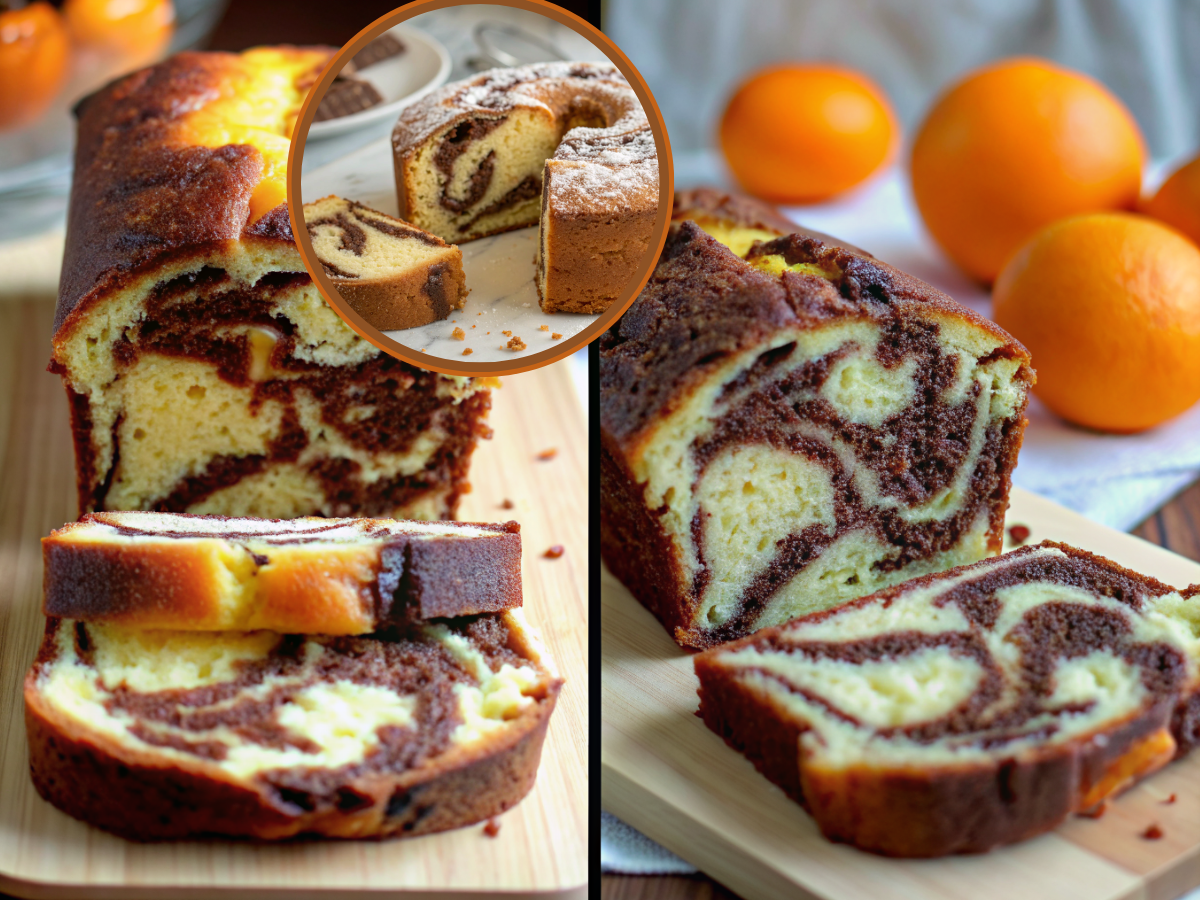
The Best Marble Cake Recipe
There’s something comforting about a marble cake that goes beyond the swirl of chocolate and vanilla. You might remember watching someone in your family gently drag a knife through the batter, creating magic with each movement. Maybe you still recall the smell—warm, buttery, familiar—filling the kitchen long before the oven timer rang. When you bake a marble cake, you’re not just making dessert. You’re recreating a moment, a memory, or a feeling you once held close.
And now it’s your turn to make that feeling real again.
This detailed guide walks you through the best marble cake recipe, step by step. Whether you’re learning to bake for the first time or you’ve already mastered a few cakes, this version is designed to be simple, clear, and consistently delicious. You’ll find tips, variations, serving ideas, and all the practical details you need to create a cake that looks gorgeous and tastes even better.
Why You’ll Love This Marble Cake Recipe
If you’ve tried marble cake before, you already know why it stands out. But when you bake this recipe yourself, you’ll enjoy benefits you won’t find in a boxed mix or a basic online tutorial:
- You get a soft, moist crumb thanks to the balanced ratio of fats, liquids, and dry ingredients.
- You control the depth of the chocolate swirl, adjusting it to your taste.
- You can personalize the recipe with your own variations.
- You avoid the overly sweet, artificial aftertaste often found in store-bought cakes.
- You gain confidence in a classic recipe that you can bake for birthdays, gatherings, or lazy weekends.
There’s also a bit of history attached to marble cake. Originally popular in 19th-century German kitchens, the pattern was created by mixing dark molasses batter with pale vanilla batter. Over time, bakers all over the world began using chocolate instead, giving us the iconic swirl we love today.
Ingredients You Need for the Perfect Marble Cake Recipe
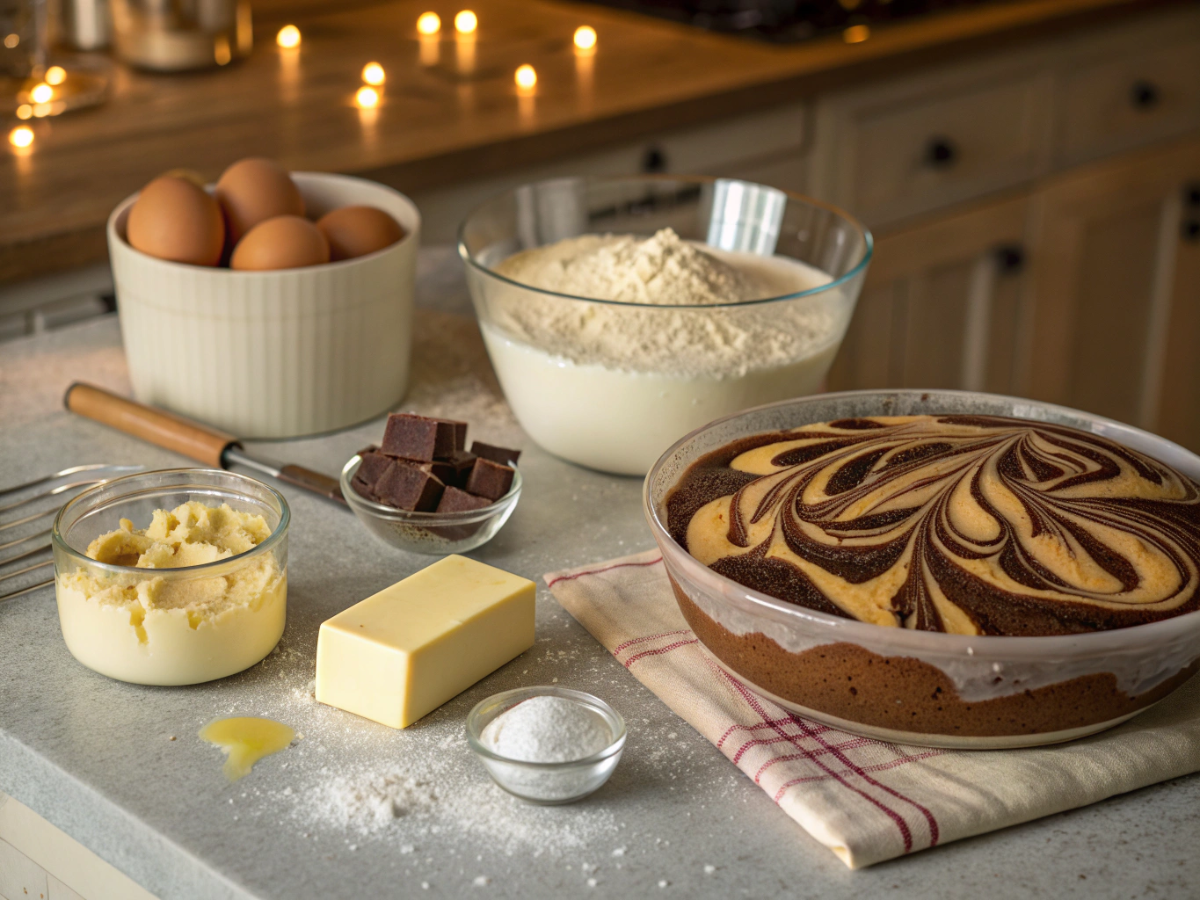
Before you begin, make sure all your ingredients are at room temperature. This simple step makes your batter smoother and gives your cake a more tender texture.
Marble Cake Recipe Ingredients Table
| Ingredient | Amount | Purpose |
|---|---|---|
| All-purpose Flour | 2 cups | Gives structure |
| Granulated Sugar | 1 cup | Sweetness + moisture |
| Unsalted Butter | ½ cup (softened) | Rich flavor + tenderness |
| Eggs | 3 large | Binding + lift |
| Whole Milk | ¾ cup | Moisture + softness |
| Baking Powder | 2 tsp | Rise |
| Vanilla Extract | 1 tbsp | Classic aroma |
| Cocoa Powder | ¼ cup | Chocolate swirl |
| Warm Water | 2 tbsp | Smooth, glossy cocoa texture |
| Pinch of Salt | — | Balances sweetness |
Quick note:
Using high-quality cocoa powder makes a noticeable difference in flavor. If you prefer a deeper chocolate taste, add a touch more cocoa to your swirl mixture.
How to Make the Best Marble Cake Recipe (Step-by-Step Guide)
You don’t need fancy tools for this recipe—just a bowl, a whisk or mixer, and the desire to make something delicious.
Step 1 – Prepare the Vanilla Base Batter
- Cream the softened butter and sugar together until fluffy.
- Add your eggs one at a time, mixing gently after each one.
- Combine your flour, baking powder, and salt in a separate bowl.
- Add the dry ingredients into the butter mixture in small portions, alternating with the milk.
- Mix until the batter is smooth and pale, but stop before it becomes too thick—overmixing leads to a dense cake.
This becomes your basic vanilla batter, the foundation of the marble swirl.
Step 2 – Create the Chocolate Batter
- Scoop out one-third of the vanilla batter into a separate bowl.
- In another small bowl, mix the cocoa powder and warm water until smooth.
- Fold this cocoa mixture into the separated batter.
You now have both flavors ready to swirl.
Step 3 – Assemble and Swirl
- Grease your baking pan.
- Pour alternating scoops of vanilla and chocolate batter into the pan.
- With a knife or skewer, gently make a flowing “S” shape through the batter.
- Don’t swirl too aggressively—this can blend the colors instead of marbling them.
This step is where your cake becomes uniquely yours. No two marble cakes ever look alike.
Step 4 – Bake to Perfection
- Bake at 350°F (180°C) for 45–55 minutes.
- Check doneness by inserting a toothpick into the center—it should come out clean with a few moist crumbs.
- Let your cake cool for at least 15–20 minutes before slicing.
Cooling helps the crumb set and keeps the cake from breaking apart.
Tips to Make Your Marble Cake Even Better
H3: Keep Ingredients at the Same Temperature
Cold eggs or butter can make your batter curdle. Room-temperature ingredients mix more smoothly.
H3: Use Quality Vanilla and Cocoa
Your flavors will be richer and more balanced.
H3: Don’t Overmix
Stop as soon as your ingredients combine. Overmixing toughens the cake.
H3: Preheat the Oven
This ensures your cake starts rising at the right moment.
H3: Use the Right Pan
A standard loaf pan or an 8-inch round pan works best for this recipe.
Marble Cake recipe Variations You Can Try
Once you master the classic marble cake recipe, you can start improvising. Here are ideas you can experiment with:
Chocolate Chip Marble Cake
Stir mini chocolate chips into the vanilla portion for extra texture.
Coffee Marble Cake
Add a teaspoon of instant espresso to the chocolate batter.
Lemon Vanilla Marble Cake
A little lemon zest adds brightness and aroma.
Gluten-Free Marble Cake
Use a 1:1 gluten-free flour blend.
Marble Pound Cake
Swap butter for half butter, half cream cheese for a denser crumb.
How to Serve Your Marble Cake
You can dress your cake up or keep it simple. Try these ideas:
- Dust it with powdered sugar
- Serve warm with coffee or tea
- Drizzle with chocolate glaze
- Add a scoop of vanilla or caramel ice cream
- Slice and toast it lightly for breakfast (surprisingly delicious)
How to Store Your Marble Cake
If you want the texture to stay soft and fresh, use the right storage method.
Room Temperature
Your cake stays fresh for 3 days in an airtight container.
Refrigerator
Keeps up to 5 days, but wrap it tightly so it doesn’t dry out.
Freezer
Slice it, wrap each piece, and freeze for up to 2 months.
Thaw at room temperature for perfect texture.
Nutrition Facts (Estimated Per Slice)
| Nutrient | Amount |
|---|---|
| Calories | ~290 |
| Carbohydrates | ~34g |
| Protein | ~4g |
| Fat | ~14g |
| Sugar | ~22g |
These numbers may vary slightly depending on your exact measurements and pan size.
Common Mistakes to Avoid
Even simple cakes require the right technique. Here are mistakes you should watch out for:
- Using cold butter
- Overmixing the batter
- Baking at the wrong temperature
- Adding too much cocoa, causing the chocolate batter to dry out
- Over-swirling the batters together
Avoid these and your cake will bake beautifully every time.
FAQs About Marble Cake Recipe
1. What makes a marble cake moist?
You get a moist marble cake when you use enough fat (like butter), avoid overmixing, and don’t overbake the batter.
2. How do you get the perfect marble swirl?
Alternate your batters and drag a knife gently through the layers in a smooth figure-8 motion.
3. Can you make marble cake without cocoa powder?
Yes. You can use melted chocolate, instant coffee, or even a caramel mixture for the darker swirl.
4. Why did my marble cake come out dense?
This usually happens when you add too much flour or whip the batter too vigorously, breaking the air pockets inside.
5. Can I double this marble cake recipe?
You can absolutely double the recipe—just bake it in a larger pan and adjust the baking time slightly.
Conclusion
When you bake a marble cake, you aren’t just following instructions—you’re creating a little moment of joy. From the creamy vanilla base to the deep chocolate swirl, each part of this recipe gives you a chance to shape something personal and impressive. Whether you’re serving guests or simply treating yourself, this cake delivers both flavor and nostalgia in every slice.
Now it’s your turn to make it.
If this guide helped you, try the recipe today—and share your results or variations. Your next great baking moment starts right here.
0 Comment