
 admin
admin How to Make Homemade Cheese Step by Step at Home
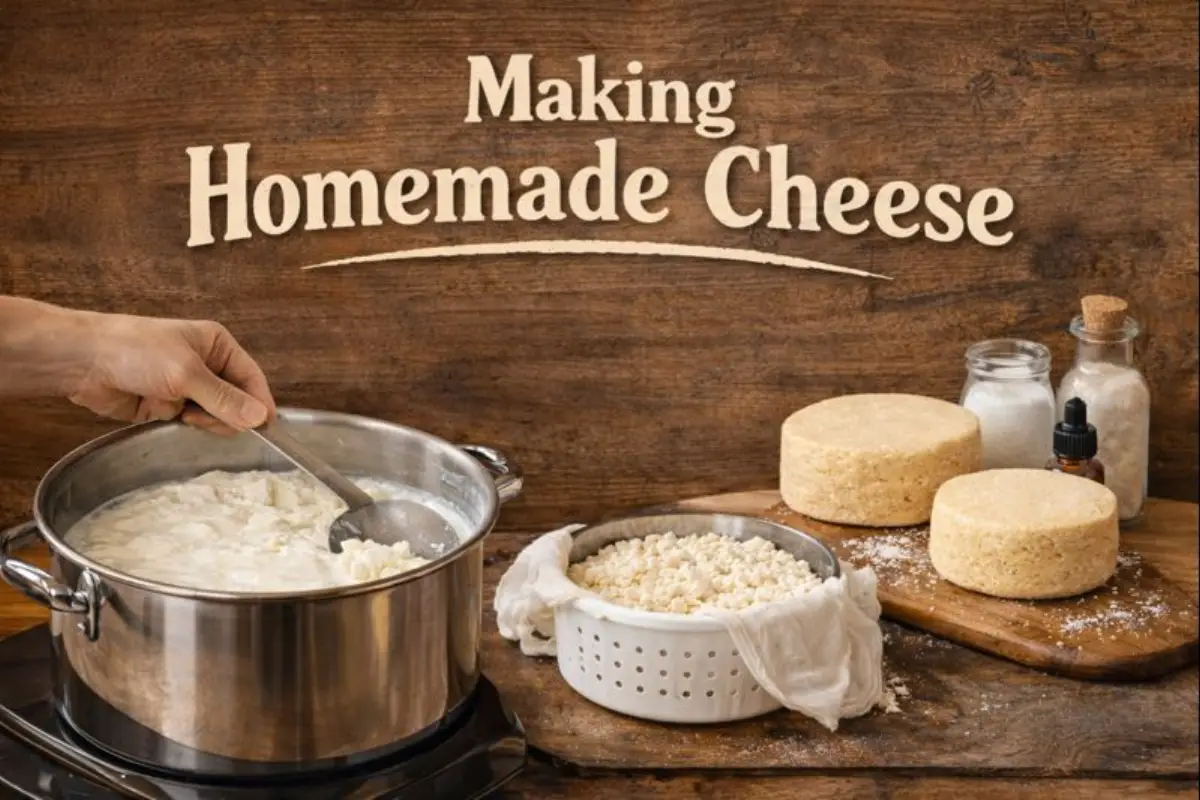
Making Homemade Cheese
A Step-by-Step Guide to Crafting Cheese at Home
Making homemade cheese may seem like a complex or intimidating process, but in reality, it is one of the oldest and most rewarding kitchen skills you can learn. With just a few basic ingredients, simple tools, and a bit of patience, you can transform fresh milk into delicious, handcrafted cheese right in your own kitchen.
The process shown in the image breaks cheese making into clear, manageable stages. Each step builds on the previous one, guiding you from warm milk to a finished cheese wheel full of flavor. Whether you are curious about traditional food preservation, looking to reduce processed foods, or simply want to try something new, homemade cheese is an excellent place to start.
This guide explains each step in detail, including why it matters, how to do it correctly, and common mistakes to avoid.
What Is Homemade Cheese?
Homemade cheese is cheese produced on a small scale using fresh milk, cultures, rennet, and salt. Unlike industrial cheese, home cheese making allows full control over ingredients, texture, flavor, and aging time.
There are many types of homemade cheese, ranging from fresh cheeses like ricotta and paneer to aged cheeses such as cheddar or farmhouse-style wheels. The image illustrates a classic pressed and aged cheese process, which is the foundation for many traditional varieties.
Why Make Cheese at Home?
Making cheese at home offers several benefits:
- Control over ingredients and quality
- No unnecessary additives or preservatives
- Deeper understanding of traditional food processes
- Customizable flavor and texture
- A rewarding hands-on experience
- Cost-effective in the long run
- Ideal for self-sufficiency and homesteading
Beyond the practical benefits, cheese making reconnects you with slow food traditions and gives you a product that feels genuinely personal.
Ingredients Needed for Homemade Cheese
While recipes vary, most cheeses rely on the same core ingredients.
- Fresh milk (preferably whole, non-ultra-pasteurized)
- Starter culture
- Rennet
- Salt
Milk is the foundation. The quality of the milk directly affects the final cheese. Fresh, high-quality milk produces better curds and richer flavor.
Starter cultures introduce beneficial bacteria that acidify the milk and develop flavor. Rennet causes the milk proteins to coagulate and form curds. Salt enhances taste, controls moisture, and protects the cheese during aging.
Step 1: Heat the Milk
The first step in cheese making is gently heating the milk.
Milk is slowly warmed to approximately 85–90°F (30–32°C). This temperature range is crucial because it activates the starter cultures without damaging the milk proteins.
Heating should be done gradually, using a heavy-bottomed pot and gentle heat. Stir slowly to prevent scorching and ensure even warmth throughout the milk.
This step prepares the milk for fermentation and sets the stage for curd formation.
Step 2: Add Culture and Rennet
Once the milk reaches the correct temperature, the starter culture is added.
The culture is gently stirred into the milk and allowed to rest. During this time, beneficial bacteria begin converting lactose into lactic acid. This acidification is essential for both texture and flavor development.
After the culture has had time to activate, rennet is added. Rennet causes the milk to coagulate, transforming it from liquid milk into a soft gel.
The pot is then left undisturbed so the curds can form properly.
Step 3: Let the Curds Form
Over the next 30 to 60 minutes, the milk thickens and separates into curds and whey.
Curds are the solid milk proteins, while whey is the liquid portion. A clean break test is often used to check readiness. When a knife inserted into the curd creates a clean cut, the curds are ready for the next step.
This stage determines the moisture level and texture of the final cheese.
Step 4: Cut and Cook the Curds
Cutting the curds releases whey and controls how much moisture remains in the cheese.
Curds are cut into small, even cubes using a long knife. Smaller curds result in a drier cheese, while larger curds retain more moisture.
After cutting, the curds are gently heated and stirred. This cooking process encourages further whey release and firms up the curds.
Careful stirring prevents curds from clumping or breaking apart.
Step 5: Drain and Press the Curds
Once the curds reach the desired firmness, the whey is drained away.
The curds are transferred into a cheese mold lined with cheesecloth. Pressure is then applied to press the curds together, forming a solid cheese shape.
Pressing removes additional whey and gives the cheese its final structure. The amount of pressure and pressing time depends on the cheese style.
This step is critical for achieving a cohesive, sliceable cheese.
Step 6: Salt the Cheese
Salting is more than just seasoning.
Salt enhances flavor, regulates moisture, slows unwanted bacterial growth, and strengthens the rind. Cheese can be salted by rubbing salt on the surface, soaking in a brine, or mixing salt directly into the curds.
Proper salting ensures balance and stability throughout the aging process.
Step 7: Age the Cheese
Aging transforms fresh cheese into something complex and flavorful.
During aging, enzymes and bacteria continue to work inside the cheese, developing aroma, texture, and taste. Aging can last from a few weeks to several months, depending on the desired result.
Cheese should be aged in a cool, humid environment with proper airflow. Regular turning and monitoring help prevent mold problems and ensure even aging.
This final stage is where cheese truly becomes cheese.
Common Mistakes to Avoid
Beginners often encounter similar challenges.
- Overheating the milk
- Using ultra-pasteurized milk
- Stirring curds too aggressively
- Skipping proper pressing
- Under-salting or over-salting
- Aging in incorrect conditions
Most mistakes are easy to fix with experience and attention to detail.
Is Homemade Cheese Safe?
When basic hygiene and temperature guidelines are followed, homemade cheese is safe. Clean equipment, fresh ingredients, and proper aging conditions are essential.
Beginners are encouraged to start with simple cheeses before attempting long-aged varieties.
Types of Cheese You Can Make at Home
Once you understand the process shown in the image, you can explore many styles.
- Fresh cheeses (ricotta, queso fresco)
- Soft cheeses
- Semi-hard cheeses
- Pressed farmhouse cheeses
- Aged cheeses
Each type uses the same principles with slight variations.
Why Homemade Cheese Is Worth the Effort
Making cheese at home combines science, tradition, and creativity. It teaches patience, precision, and respect for ingredients.
The satisfaction of cutting into a cheese you made yourself is unmatched. The flavor, texture, and sense of accomplishment make the process worthwhile.
Homemade cheese is not just food. It is a craft passed down through generations, and learning it brings you closer to the roots of traditional cooking.
0 Comment